Your coffee grinder broke?
Oh no!
How are you going to grind your beans to brew your morning coffee?
Don’t worry, I’ve got you covered.
There are plenty of tools and appliances in your house that can grind your coffee beans just how you need them to brew your favorite drink.
I’ve been in your shoes before, so I’ve already done thorough research on how to grind coffee beans without a grinder.
So grab your pen and paper, and take notes!
Mechanical Coffee Grinding Methods

Your kitchen is full of all kinds of food preparation appliances.
And believe it or not, some of them can also be used for grinding coffee beans.
Can you guess which machines I’m talking about?
Food Processor
A food processor works on a principle similar to a blade grinder. It slices through your coffee beans and gives you a coarse grind, similar to the one used for a French press.
But keep in mind that the processing chamber is rather large, so you’ll need to use a lot of beans.
Here’s how you can use this appliance for grinding beans:
- Pour coffee beans into the food processor. Put at least half a cup of beans, but no more than a full cup.
- Close the lid.
- Grind the beans with the pulse settings, with intervals from 3 to 5 seconds.
- Repeat the previous step until you get the right consistency. This shouldn’t take more than 30 seconds in total.
Blender
In this case, a kitchen blender is like a mini version of the food processor. It grinds your beans on the same principle and will get you the same results.
This is a pretty simple method, but don’t expect a miracle.
Like with any other appliance with a blade, this won’t give you an even grind size. Still, it’s not a bad option when you don’t have a coffee grinder at your disposal.
One thing to keep in mind:
A blender, like other machines with a blade, creates heat when working. As you might know, heat extracts flavors and aromas from your coffee beans. That’s not something you want to happen prior to the coffee making process.
So what can you do?
Keep the grinding process short.
It’s better to grind in short bursts than to keep the blender working without a break.
Here’s a step-by-step explanation:
- Pour coffee beans into the blender (¼ to ½ cup at a time would be best) and close down the lid.
- Set your blender on a medium-high setting. If there’s a grinder option, go for that instead.
- Just like you’d do with a food processor, grind the beans with the pulse setting, with intervals from 3 to 5 seconds.
- Do this no more than 6 times in total. All up, this shouldn’t take longer than 30 seconds.
Immersion blender
Obviously, this method isn’t much different to the two above.
The only novelty is that you need some kind of a tall and narrow container that you can stick an immersion blender in. A slim measuring cup will do the trick.
As for the steps, they’re pretty simple:
- Pour your coffee beans into the container.
- Insert the immersion blender in and cover the top area with your hands. This will prevent the beans from flying out while the blender’s working.
- Grind your beans in intervals no longer than 10 seconds, until you achieve the desired grind.
Manual Coffee Grinding Methods

What if you don’t own a blender?
Well, your hands can do the job as well. There were no automatic coffee grinders back in the 15th century, yet coffee was a popular drink in Ethiopia and the Middle East.
And besides – the methods above give you a result that’s in no way perfect. Your hand will do a much better job, trust me.
Mortar And Pestle
Speaking of the 15th century, you know what they used back then?
The mortar and pestle.
This tool allows you to grind basically any plant into a fine powder. Well, the final result really depends on how long and firm you’re grinding.
One thing to note though. You can’t use more than ⅓ of the mortar capacity at a time. If you put too much, the grounds will fly out in all directions as you press them with the pestle. So, if you need lots of coffee grounds, you’ll have to repeat the process several times.
Here’s how you do it:
- Fill your mortar with coffee beans, up to ⅓ of its capacity. If you’re using a small one, go for ¼ instead.
- Take the pestle with your dominant hand and the mortar with the other one. This is because you need to use a lot of force to grind them.
- Start by hammering down the beans with the pestle, until you break them down.
- Then, switch to a swirling motion until you crush all the beans to a coarse consistency.
- Move the pestle in a circular motion until you reach the desired fineness.
The great thing about this method is that you can make your grind coarse or fine, depending on which brewing method you’re using.
Sure, it takes a little effort, but the final result is well worth it.
Rolling Pin
Here’s a utensil that everyone has at home.
Aside from rolling out pastry, you can also use it to grind your coffee beans.
Not going to lie, this method is no walk in the park.
But the final result is worth a little extra effort.
Plus, you can make a bigger batch of grounds this way, and you can store them in a freezer for up to a week.
Here’s what you need to do:
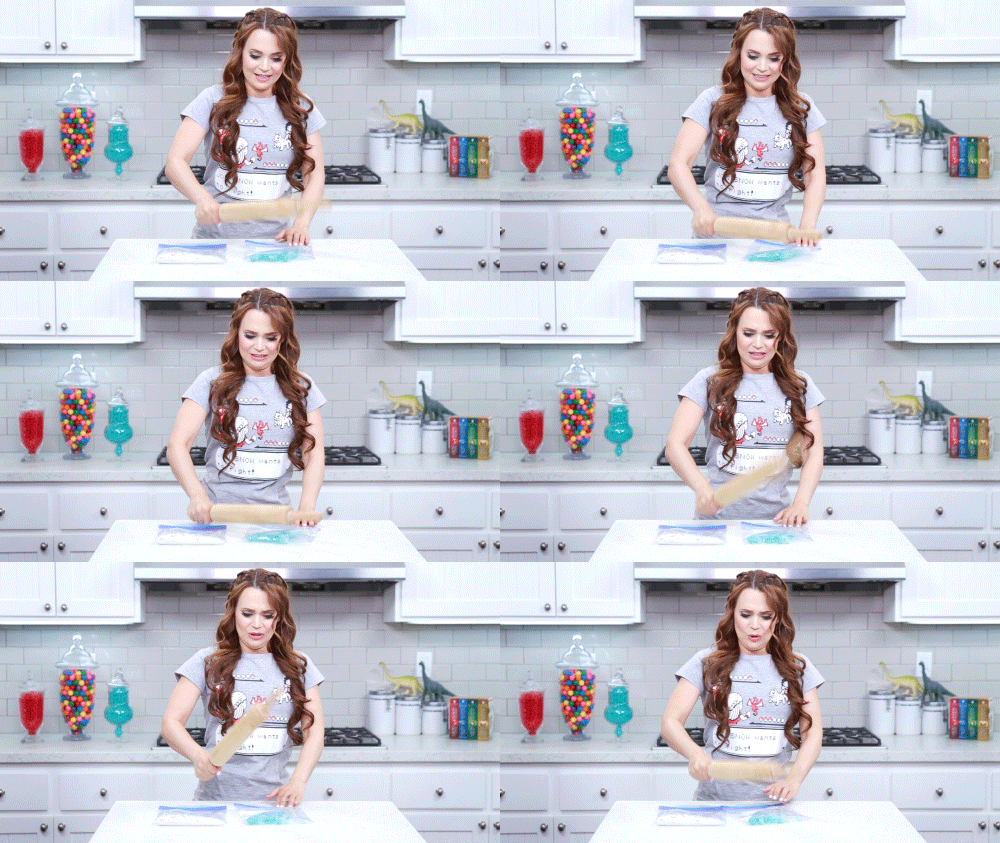
- Pour coffee beans into a ziploc bag. Make sure to press all the air out, or else you’ll pop the bag as you start grinding your beans.
- Place the rolling pin over the bag and start applying the pressure as you’re rolling it.
- Grind down your beans until you reach the desired consistency.
This method will take time, so be patient. Don’t expect it to be quick and effortless.
Hammer
How about using a good ol’ hammer to crush your coffee beans?
This technique is somewhat similar to the one above, so no, you’re not going to hammer the beans down like you would a nail. Your grounds will be much finer if you use a pressing motion.
Here’s what you’ll do instead:
- Pour your coffee beans into a ziplock bag, like you would for the rolling pin method. Press all the air out.
- Put a towel both beneath and over the bag. This is an optional step, but it prevents any possibility of popping the bag open and making a mess.
- Grab a hammer and crush down the beans. Do this by pressing down firmly. Focus on crushing whole beans first.
- Once all the beans are crushed, it’s time to work on your grind. Continue pressing down with the hammer head until you reach the fineness you’re aiming for.
It goes without saying that this should be done on a surface that can’t be easily damaged. A glass dining table is obviously a definite no-no.
Knife
Another tool for grinding coffee beans lies in your kitchen drawer.
I’m talking about a knife.
But not any knife will do. Well, not unless you want to crush one coffee bean at a time.
For this method, go for a butcher or chef’s knife. They’re wide enough to press lots of beans at a time.
Noticed I said “press”? Even though we’re using a knife, we won’t be cutting anything. Instead, we’re using the flat side of the blade.
Here’s how:
- Spread the beans on a cutting board. You can use a towel over the beans to prevent them from accidentally getting launched into the oblivion as you press them down.
- Place your knife flat on top of the beans. Press down firmly with your palms by using your own body weight.
That’s it.
I know, it’s not a perfect method. But when you’re short on options, it will do the trick.
Hand Mincer Or Garlic Press
Looking for an easier method?
Here’s one.
Both a hand mincer and a garlic press are pretty simple to use. But, they give you only a small amount of ground coffee at a time – this is especially true for the garlic press.
If you’re okay with that, here’s how you can use these tools:
- Pour a small amount of beans into a hand mincer or a garlic press.
- Squeeze the tool until every last bit of coffee bean remnants pass through the holes.
- Repeat the first two steps until you get the amount you need.
How Fine Should You Grind?
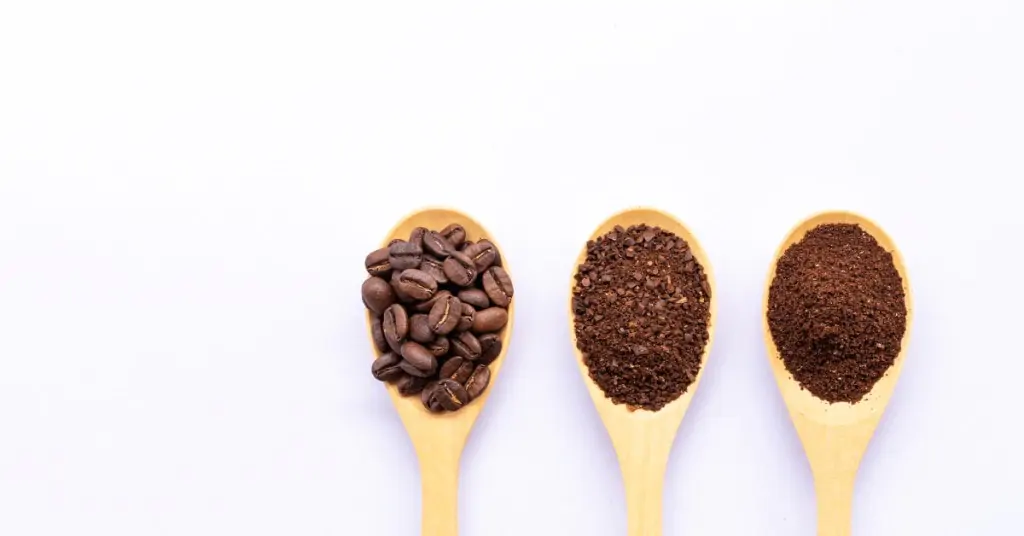
I know what you’re thinking – how fine of a grind should you be aiming for?
Well, the answer really depends on the type of coffee you want to make.
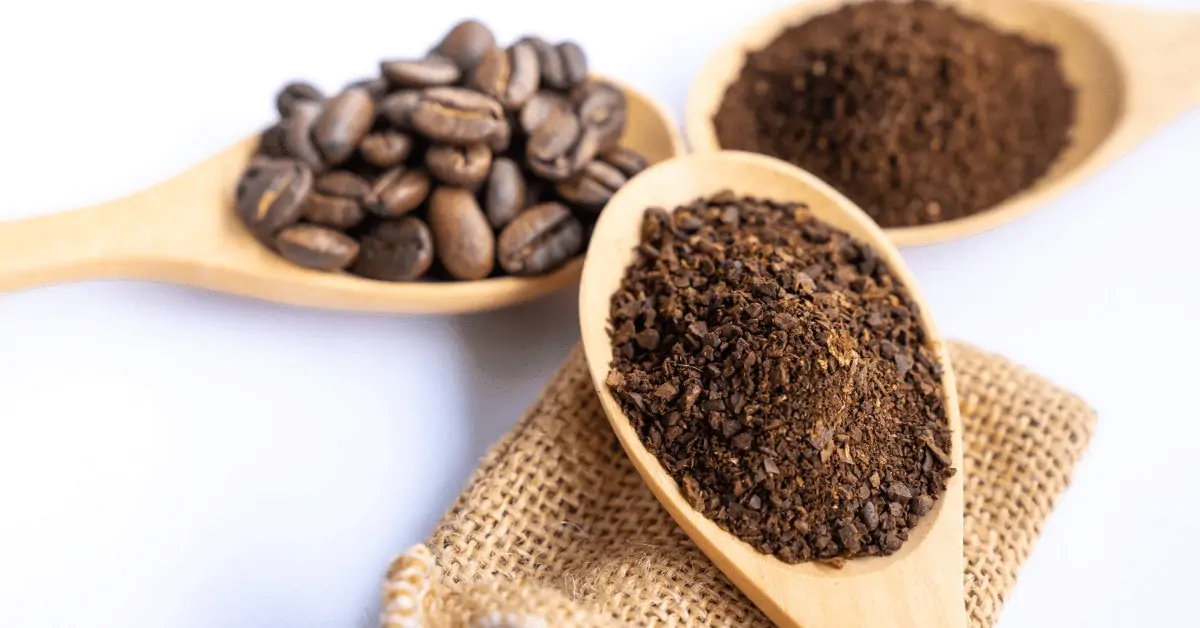
Coffee grind consistency goes from coarse to super fine.
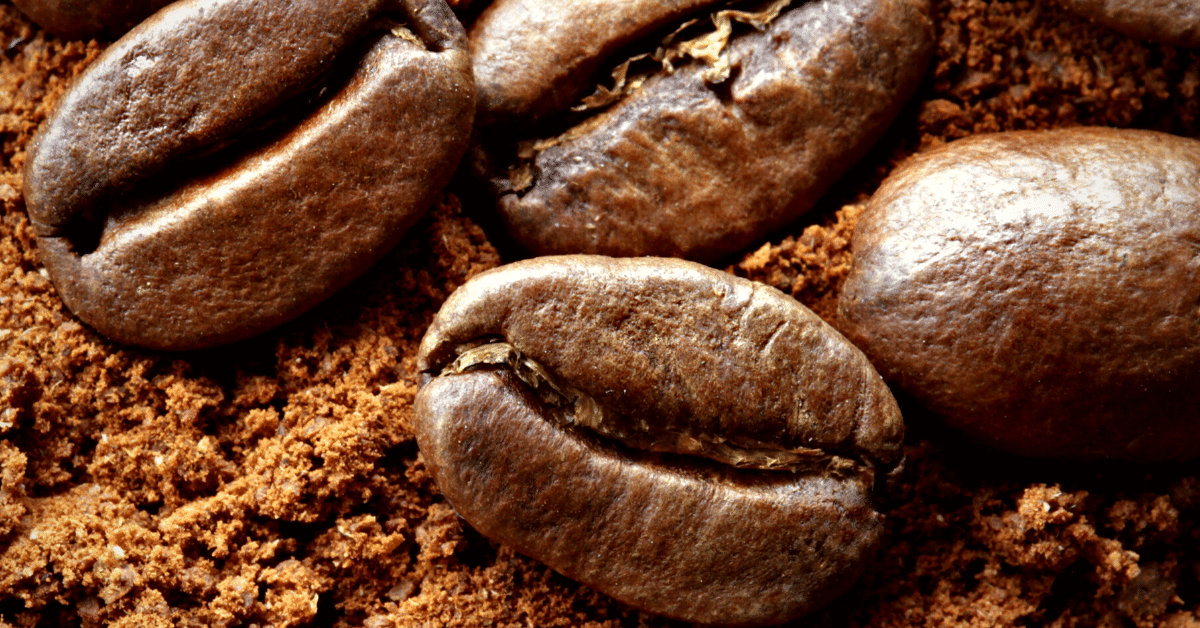
A coarser grind looks pretty much like breadcrumbs. This is what you’ll get by using a blender or a hammer.
Because the coffee particles are pretty big, they need to be in contact with water for a longer time for optimal extraction. An extra coarse grind is suitable for cold brew, while coarse is ideal for French press coffee.
A medium grind is similar in consistency to granulated sugar. You can achieve that with any of the manual methods above.
Medium grinds are great for several brewing methods, including drip and pour-over coffee.
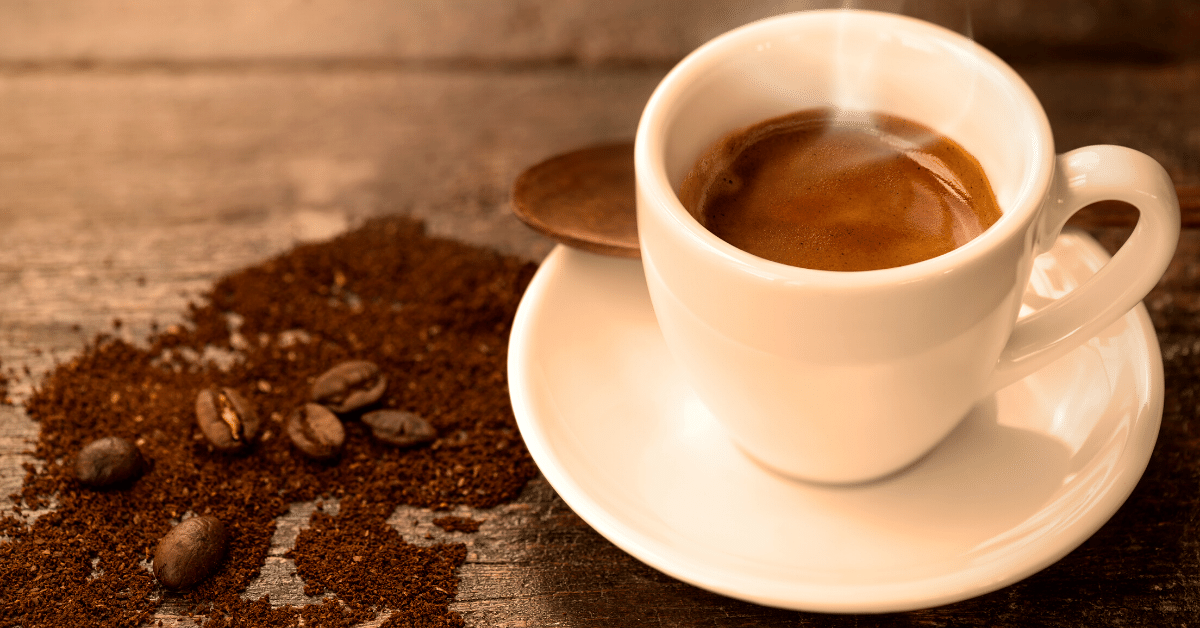
For an espresso machine, you need a fine grind.
By that, I mean your grounds should look like beach sand or table salt.
Reaching that consistency without a coffee grinder is somewhat difficult. A mortar and pestle or a rolling pin will get you there, but it requires time and patience.
Finally, we’ve got super fine grinds.
These are ideal for Turkish coffee.
In terms of consistency, these fine grounds look like powdered sugar.
Of all the methods mentioned above, only a mortar and pestle will give you a grind this fine.
FAQ
I’ve covered almost everything there is to know about different coffee grinding methods.
Still, I’m sure you’ve got some questions on your mind.
Here are the answers to some of the questions I had when using these methods for the first time.
Will Putting Coffee Beans In The Blender Damage The Blender?
The answer really depends on the quality of your blender.
If you’ve bought a cheap appliance, you can expect it to break when you’re blending apples, let alone coffee beans.
But if you’re using a machine of a decent quality, and you’re not grinding your beans every day, you’ll be fine. In time, the blades will become dull, but that happens anyway with regular use.
Can You Make Coffee Without Grinding Beans First?
Actually, you can. But it’s not as easy as brewing ground coffee.
The problem is that you can easily end up with bitter coffee-flavored water instead of coffee.
It’s because the extraction time for coffee beans should be longer. And if you just brew whole beans as you would regular coffee, the water would cool down before it managed to reach the center of the bean. It means the flavor and aroma wouldn’t be extracted.
However, there are a few ways to make good coffee with whole beans, although brewing takes a lot of time.
Is There A Difference In Grinding When It Comes To Coffee Roast Levels?
There most definitely is.
Coffee beans at different roast levels have different characteristics.
White roast beans, which are the lightest, are extremely hard.
By that, I mean they could damage the blades of your appliance, if you try grinding them using one of the mechanical methods.
What’s more, you won’t have a much easier time grinding them with a manual method either.
A light roasted coffee bean will be tough to grind without a good electric burr grinder. In fact, for the methods I’ve talked about in this article, I’d recommend going for a medium or dark roast.
The darker the beans, the easier they are to break and grind.
To Sum It Up
Nothing beats the flavor and aroma of freshly ground coffee beans.
And the best thing is – you don’t need to own a coffee grinder to achieve that.
Not when you have so many tools and machines at home that can give you the same result.
Any of these methods can achieve a coarse grind, which is ideal for French press and cold brew.
But if you need very fine grounds, you can only achieve that by using the very first coffee grinding method in history – the mortar and pestle.
That’s it. Now you know how to grind coffee beans without a grinder!

